Make-Ahead Chocolate Cream Pie: Your Key to Effortless Indulgence
Imagine a dessert so rich, so velvety, and so utterly delicious that it steals the show at any gathering, yet requires minimal effort to create. That’s the magic of a make-ahead chocolate cream pie. Perfect for summer picnics, holiday feasts, or simply a weeknight treat, this iconic dessert offers a silky, simple solution to your sweet cravings. Forget the stress of last-minute baking; with this Easy 3-Ingredient No-Bake Chocolate Cream Pie, you can prepare a showstopper well in advance, leaving you free to enjoy the moment.
The beauty of this particular chocolate cream pie recipe lies in its simplicity and the luxurious texture it delivers without ever needing to turn on an oven. Whether you're a seasoned baker or a kitchen novice, you'll find the process remarkably straightforward, yielding a dessert that tastes anything but simple. Get ready to impress with minimal fuss!
The Undeniable Charm of a Make-Ahead Masterpiece
In a world where time is a precious commodity, the make-ahead dessert reigns supreme. A chocolate cream pie, especially a no-bake version, is the ultimate testament to this convenience. The ability to assemble your dessert a day or even two in advance completely transforms your entertaining strategy. No more frantic last-minute whisking or oven-watching while your guests arrive.
This approach allows the flavors to meld beautifully and the filling to set into that impossibly smooth, firm-yet-creamy consistency that is the hallmark of a truly great chocolate cream pie. It’s not just about saving time; it's about achieving peak flavor and texture. A chilled pie has a distinct refreshing quality, making it particularly delightful during warmer months when heavy, baked desserts feel out of place. Furthermore, the simplicity of a no-bake method means fewer dishes, less heat in your kitchen, and a dessert that feels light yet satisfying.
Opting for a make-ahead chocolate cream pie recipe means you can focus on other aspects of your meal or simply relax and enjoy your company, knowing that a delightful dessert is patiently chilling in the refrigerator, ready to be unveiled when the time is right. It’s dessert planning at its most intelligent.
Crafting Silky Perfection: The No-Bake Chocolate Cream Pie Recipe Explained
The foundation of our incredibly simple, yet decadent, chocolate cream pie is a rich ganache folded into light, airy whipped cream, all nestled within a crisp crust. This method is incredibly forgiving and yields a truly professional-looking and tasting pie with minimal fuss. Here's a breakdown of the process and some tips for achieving that perfect silky texture:
Essential Ingredients for a Simple Chocolate Cream Pie
- Quality Dark Chocolate: This is the star of your pie, so choose wisely! A dark chocolate with 50% cocoa or higher will provide the depth and richness needed. Avoid chocolate chips if possible, as they often contain stabilizers that can prevent smooth melting. Chopped chocolate bars or baking wafers are ideal.
- Heavy Cream: Divided into two portions, this forms both your ganache and your whipped topping. Ensure it's cold for optimal whipping.
- A Pinch of Salt: Crucial for enhancing the chocolate's flavor and balancing the sweetness.
- Store-Bought Graham Cracker Crust: The ultimate shortcut! While you can certainly make your own, a good quality pre-made crust keeps this recipe truly "simple."
Step-by-Step to Silky Smoothness:
- Start with the Ganache: In a heatproof bowl, combine your chopped dark chocolate and salt. Heat 1/2 cup of cold heavy cream in a small saucepan over medium heat until it just begins to simmer around the edges. This warm cream is poured directly over the chocolate. The key here is patience: let it sit undisturbed for 1-2 minutes. This allows the heat to gently melt the chocolate.
- The Art of Whisking: Begin stirring the chocolate and cream mixture from the very center of the bowl, gradually working your way outwards. This method ensures a smooth, emulsified ganache without any seized or lumpy bits. Continue until the mixture is completely melted and beautifully smooth. Set this aside to cool; you can pop it in the fridge for about 10 minutes to speed this up, but ensure it doesn't get too cold or hard.
- Whip the Cream: While your ganache cools, whip the remaining 1 1/2 cups of cold heavy cream until medium peaks form. This means the cream holds its shape but the tip of the peak softly curls over. Over-whipping can lead to a grainy texture, so keep an eye on it! Reserve about 1/2 cup of this whipped cream for your topping later.
- Fold with Finesse: This step is critical for maintaining the airy texture of your pie. Once the ganache has cooled to room temperature (it should no longer be warm to the touch), begin folding in the whipped cream, one-third at a time. For the initial third, a whisk can help lighten the ganache and incorporate the cream more easily. Switch to a rubber spatula for the remaining two-thirds, using a gentle folding motion (cutting down the middle and sweeping up the sides of the bowl) until no streaks of ganache remain. Overmixing here will deflate your light chocolate cloud.
- Assemble and Chill: Pour the luscious chocolate mixture into your graham cracker pie crust, smoothing the top. Pop it into the fridge for at least 1 hour to set up completely. For optimal make-ahead results and the firmest set, an overnight chill is highly recommended.
- Garnish and Serve: Just before serving, top with your reserved whipped cream and any desired garnishes.
Elevating Your Make-Ahead Chocolate Cream Pie: Tips and Variations
While the basic chocolate cream pie recipe is a masterpiece in its own right, there are numerous ways to customize and enhance it, allowing you to truly make it your own. Experimenting with different elements can transform a simple dessert into a signature dish.
Crust Creativity:
- Oreo Cookie Crust: For an even deeper chocolate flavor, swap the graham cracker crust for a store-bought (or homemade) Oreo cookie crust. The slight bitterness of the chocolate cookies perfectly complements the sweet filling.
- Classic Baked Pastry Crust: If you prefer the flaky texture of a traditional pie, a pre-baked butter pastry crust works beautifully. Just ensure it's fully cooled before adding the filling. This is a point where the No-Bake vs. Classic: Your Guide to Perfect Chocolate Cream Pie decision truly comes into play.
Flavor Boosters:
- Espresso Powder: A teaspoon of instant espresso powder added to the ganache mixture intensifies the chocolate flavor without making the pie taste like coffee. It's a secret ingredient many chocolatiers swear by.
- Extracts: A few drops of pure vanilla extract (beyond what's in some classic recipes), almond extract, or even a hint of mint extract can add an interesting dimension to your pie.
- Spices: A tiny pinch of cayenne pepper or cinnamon can give your chocolate cream pie a subtle, sophisticated warmth.
Gorgeous Garnishes:
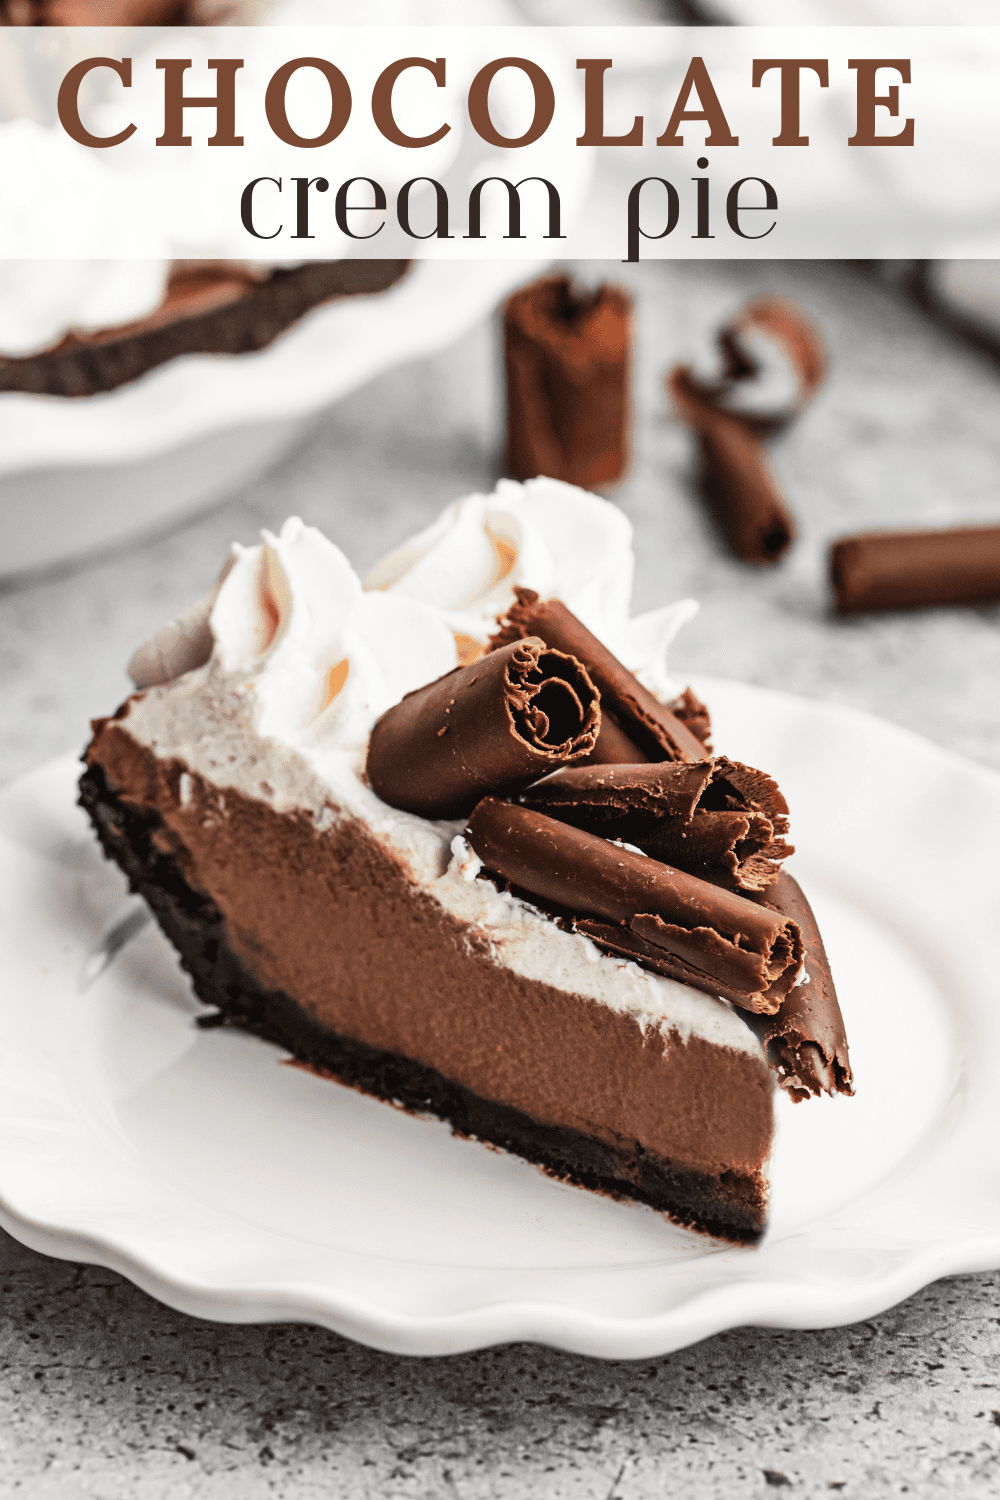
- Chocolate Shavings or Curls: A classic and elegant choice, easily made with a vegetable peeler and a bar of chocolate.
- Cocoa Powder: A light dusting of unsweetened cocoa powder or hot cocoa mix adds a refined touch.
- Fresh Berries: Strawberries, raspberries, or blueberries provide a lovely color contrast and a refreshing tartness that cuts through the richness of the chocolate.
- Nuts: Toasted chopped pecans or walnuts can add a pleasing crunch.
Remember, the beauty of this make-ahead pie is its adaptability. Don't be afraid to experiment with combinations that appeal to your palate and presentation style.
Make-Ahead Mastery: Storage and Serving Savvy
One of the greatest advantages of this chocolate cream pie is its fridge-friendly nature, making it the ultimate make-ahead dessert. Proper storage is key to ensuring it remains as delicious and visually appealing as when it was first made.
Once your pie has set, cover it loosely with plastic wrap or aluminum foil, taking care not to let the wrap touch the surface of the pie, especially if you've already added a whipped cream topping. A good trick is to insert a few toothpicks around the edge of the crust to create a tent, preventing the plastic from sticking. Store the pie in the refrigerator for up to 3 days. This generous timeframe makes it ideal for preparing for parties, holidays, or just having a treat ready when a craving strikes.
When it comes to serving, allow the pie to sit at room temperature for about 10-15 minutes before slicing if it's been chilling overnight. This slightly softens the filling, making for easier, cleaner slices and enhancing the melt-in-your-mouth texture. Use a sharp knife, wiping it clean between each slice for the most pristine presentation. Garnish with your reserved whipped cream and any other toppings just before serving to ensure they look their freshest and brightest.
Whether it's the centerpiece of a celebratory meal or a simple indulgence, your make-ahead chocolate cream pie is sure to be a beloved addition to any occasion.
Conclusion
A truly exceptional dessert doesn't have to be complicated or time-consuming. This make-ahead chocolate cream pie recipe is a testament to the power of simple ingredients transformed into something extraordinary. With its rich, silky texture and a depth of chocolate flavor that satisfies every craving, it's a dessert that speaks volumes without requiring hours in the kitchen. Embrace the ease, savor the flavor, and delight in the convenience of a dessert that truly delivers on its promise of silky and simple perfection. Go ahead, give this easy chocolate cream pie recipe a try – you'll be glad you did!
